Lakeside Living at Its Dreamiest
Summer is a fun time, and it can be even better with a nicely decorated lake home. This is not as hard as you might think! If you’re one of the incredibly lucky people who have a lake house, but are looking for ideas and inspiration of how to decorate and achieve the total lake house look, then you are in the right place.
Recent Stories
-
Cheesy Chicken Spaghetti with Velveeta
My hubby is from Texas and we get to visit at least once, if not more, each year. It’s always fun to see the recipes that his family and friends use because they are usually things we don’t typically make in our house. A few years ago my husband’s cousin’s wife made us Chicken Spaghetti….
-
Food Board Ideas: The Ultimate Guide to Building a Charcuterie Plate
Looking for a unique way to entertain? When it comes to entertaining, the “board” game has been upped! And I’m not talking about Monopoly or Charades, I’m talking about food boards! The days are gone when food boards are limited to charcuterie boards, and we want to share these inspired ideas with you. We have found…
-
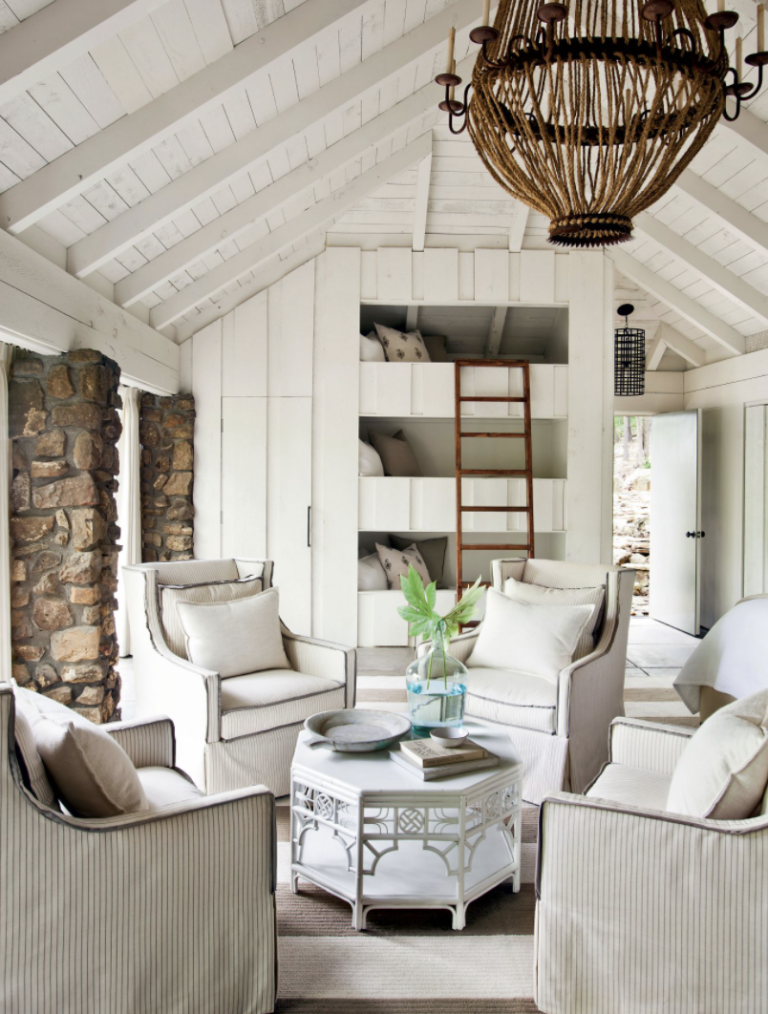
Lakehouse Decor Ideas
Summer is a fun time, and it can be even better with a nicely decorated lake home. This is not as hard as you might think! If you’re one of the incredibly lucky people who have a lake house, but are looking for ideas and inspiration of how to decorate and achieve the total lake…
-
Flying Business Class with a Baby: What I Learned Flying to Spain on United
If you’re a frequent flyer and you’ve ever flown business class on an international flight, especially one with a lie-flat seat, you know first hand how comfortable flying can be. Designed to ensure business travelers arrive to their destination well rested, the space and amenities of business class seating on major airlines create an unparalelled…
-
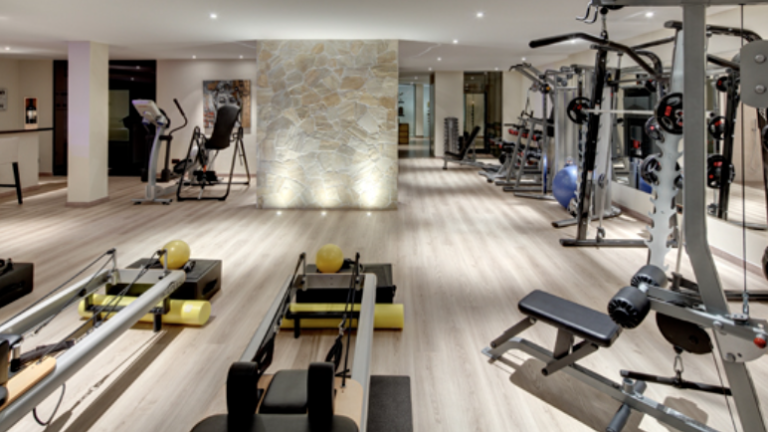
25 Basement Home Gym Ideas for 2025
Sometimes, it’s easier to find motivation if you can workout in the space of your own home. Not to mention, it’s often more time efficient to use your personal workout area rather than driving all the way to your nearest gym! So, if you’re looking for 25 basement home gym ideas for the perfect workout…
-
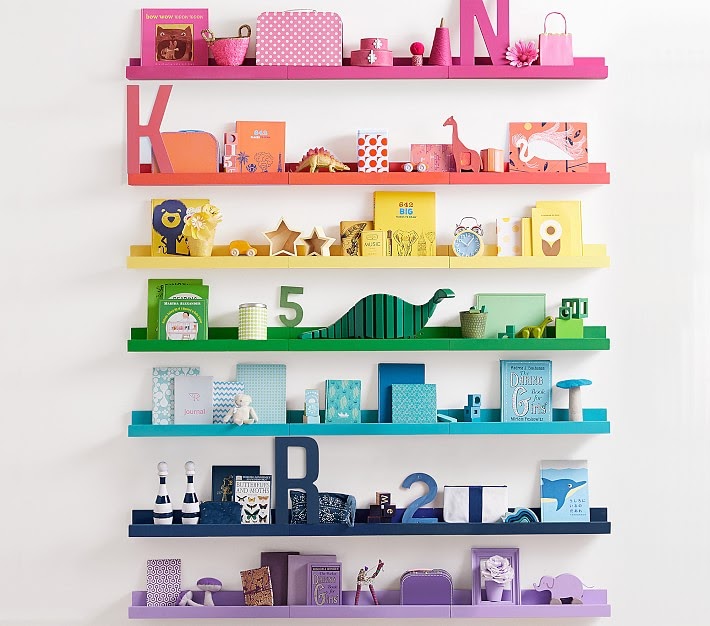
Kid’s Bedroom Storage Ideas for 2025
I’m not sure if you knew this but, according to children across the country, if you take one toy out, you must take them all out at the same time! Having children is incredibly rewarding, fun, and ultimately messy. One of the additional benefits of having kids is getting to decorate their rooms, and fortunately,…